Dear Hanami,
@swilgosz recently published a fantastic Hanami Mastery episode explaining how to integrate Font Awesome icons using kits. It’s a great tutorial and works well for many use cases.
However, one limitation arises if you’re planning to distribute your application or work with collaborators who can’t share secrets easily. The default kit-based approach relies on an API token configured in .npmrc, which makes it harder to work across environments securely.
I’d like to offer an alternative approach that still uses Font Awesome kits — but in a self-hosted, distributable way.
 Step-by-step: Self-hosting Font Awesome in Hanami
-
Create a new kit
Go to fontawesome.com/kits/new

-
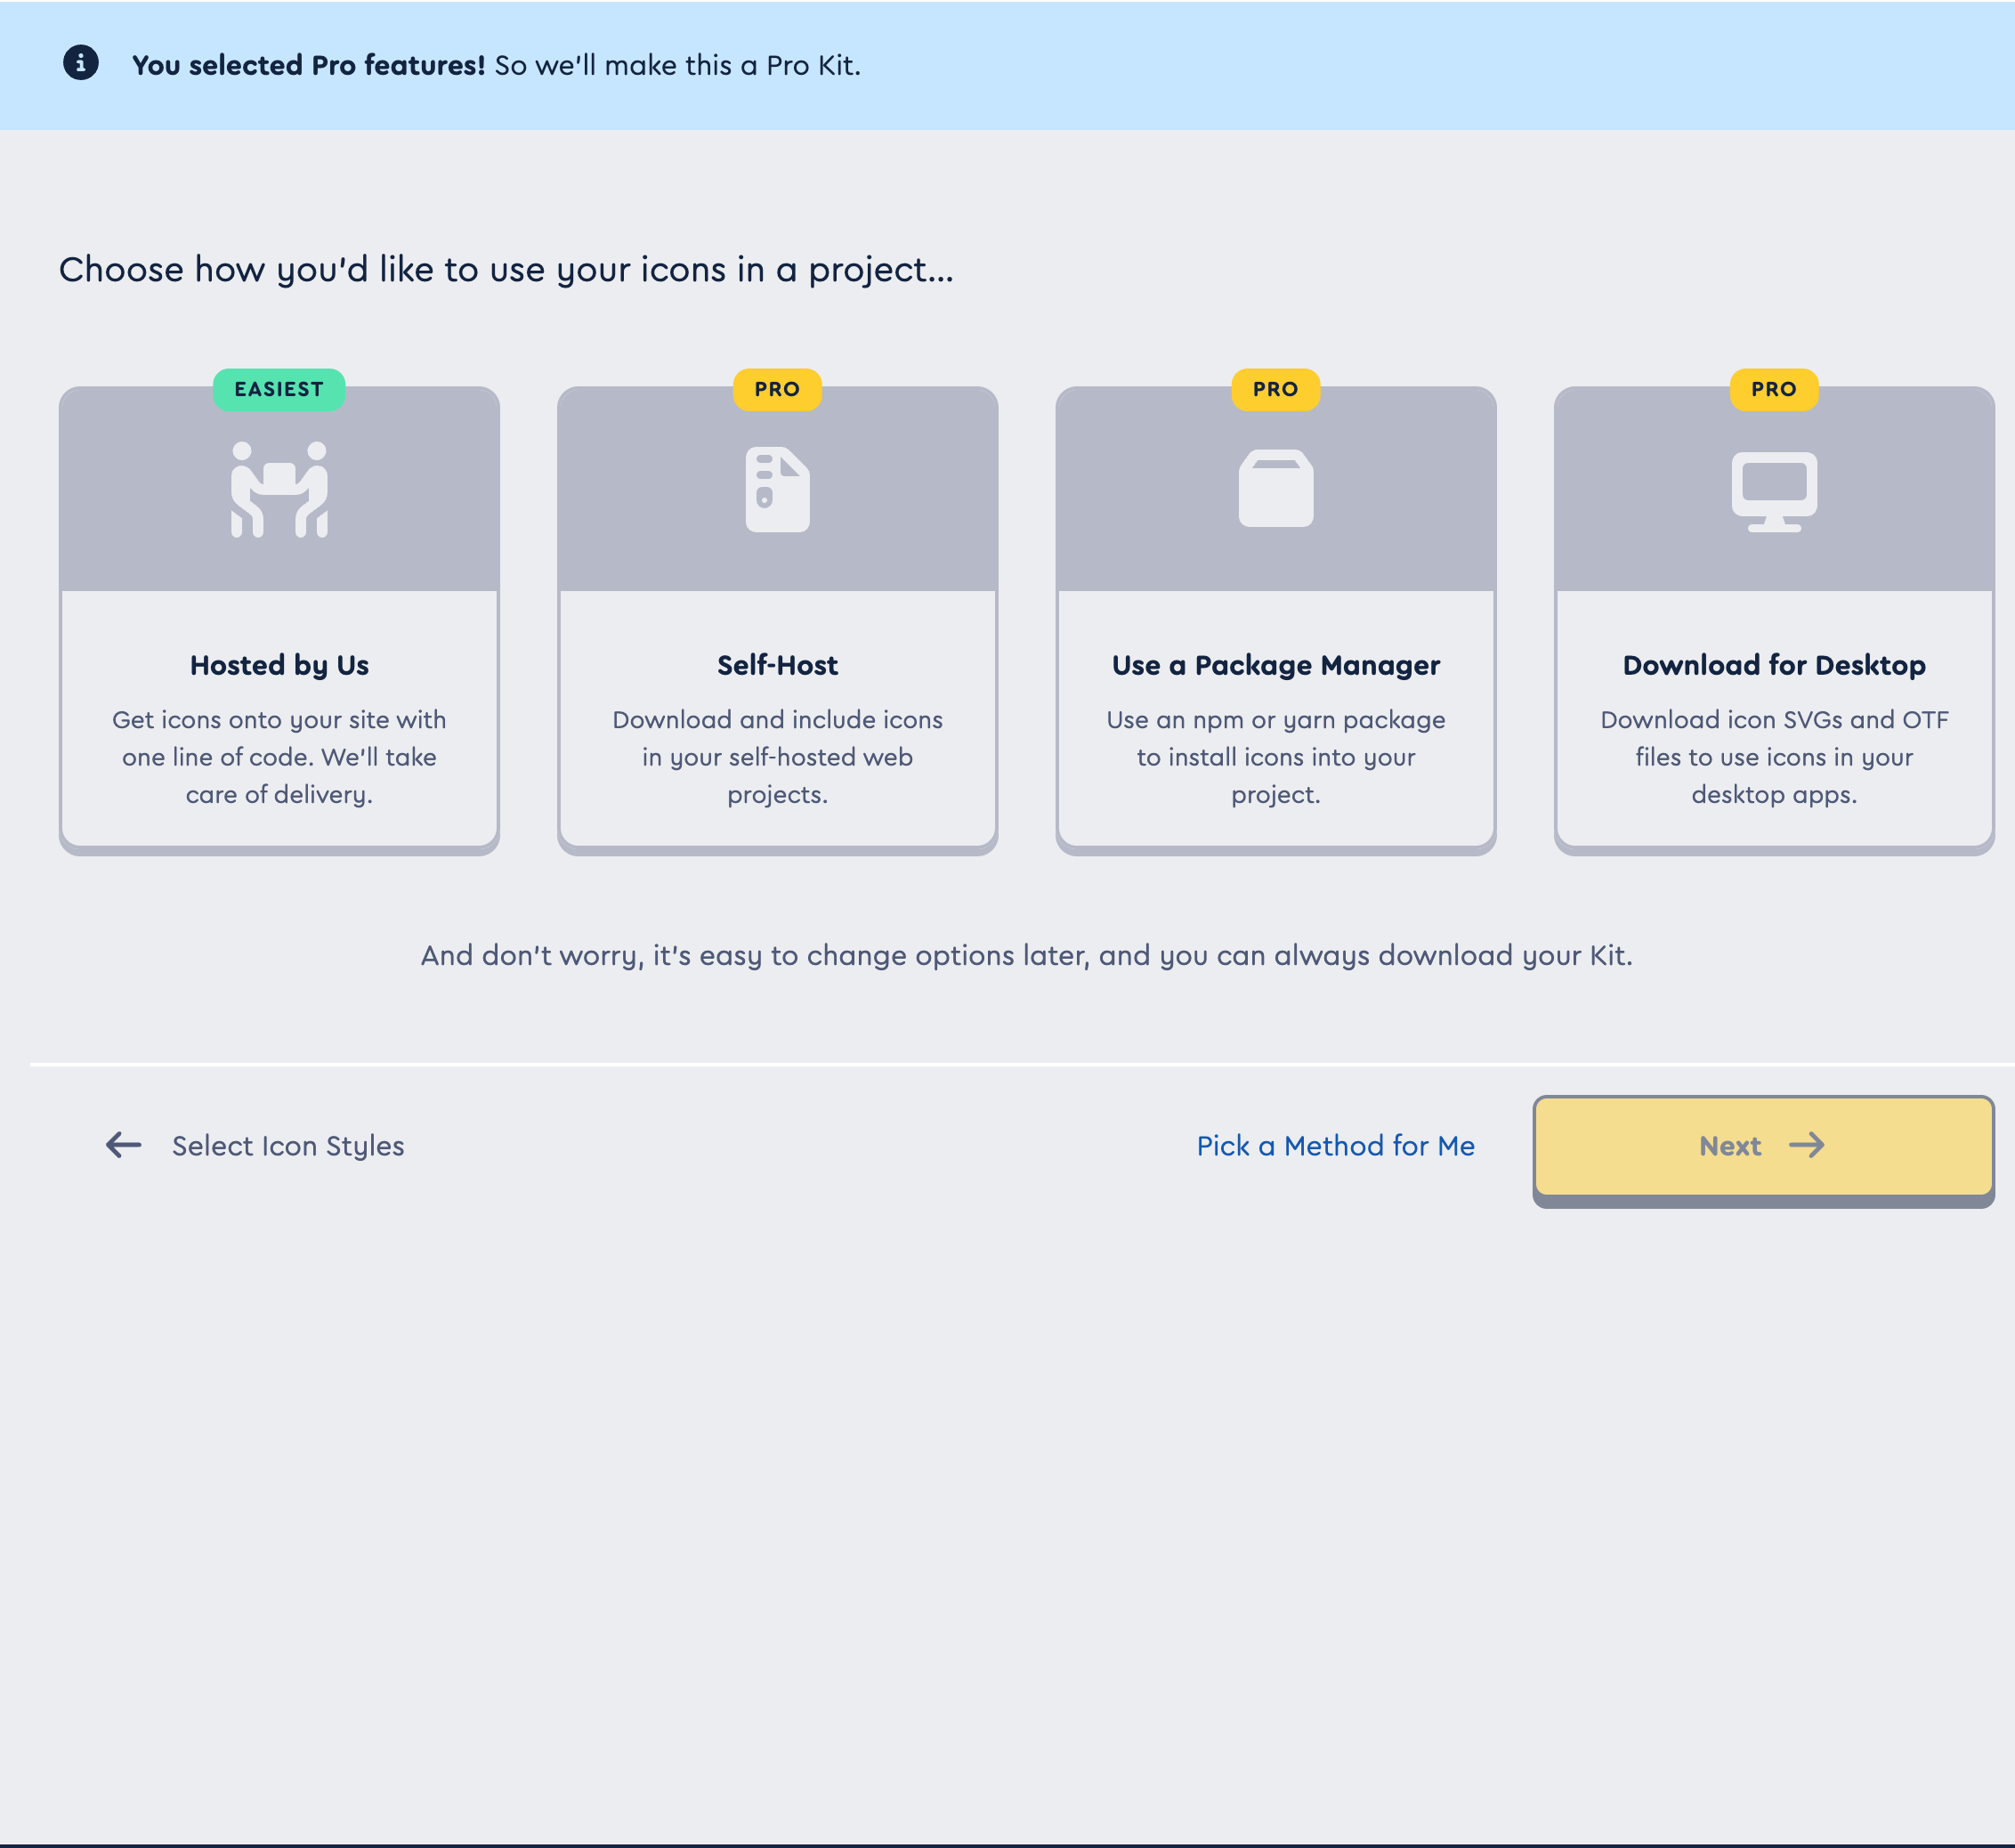
Choose “Self-Host”
This avoids needing an API token.
-
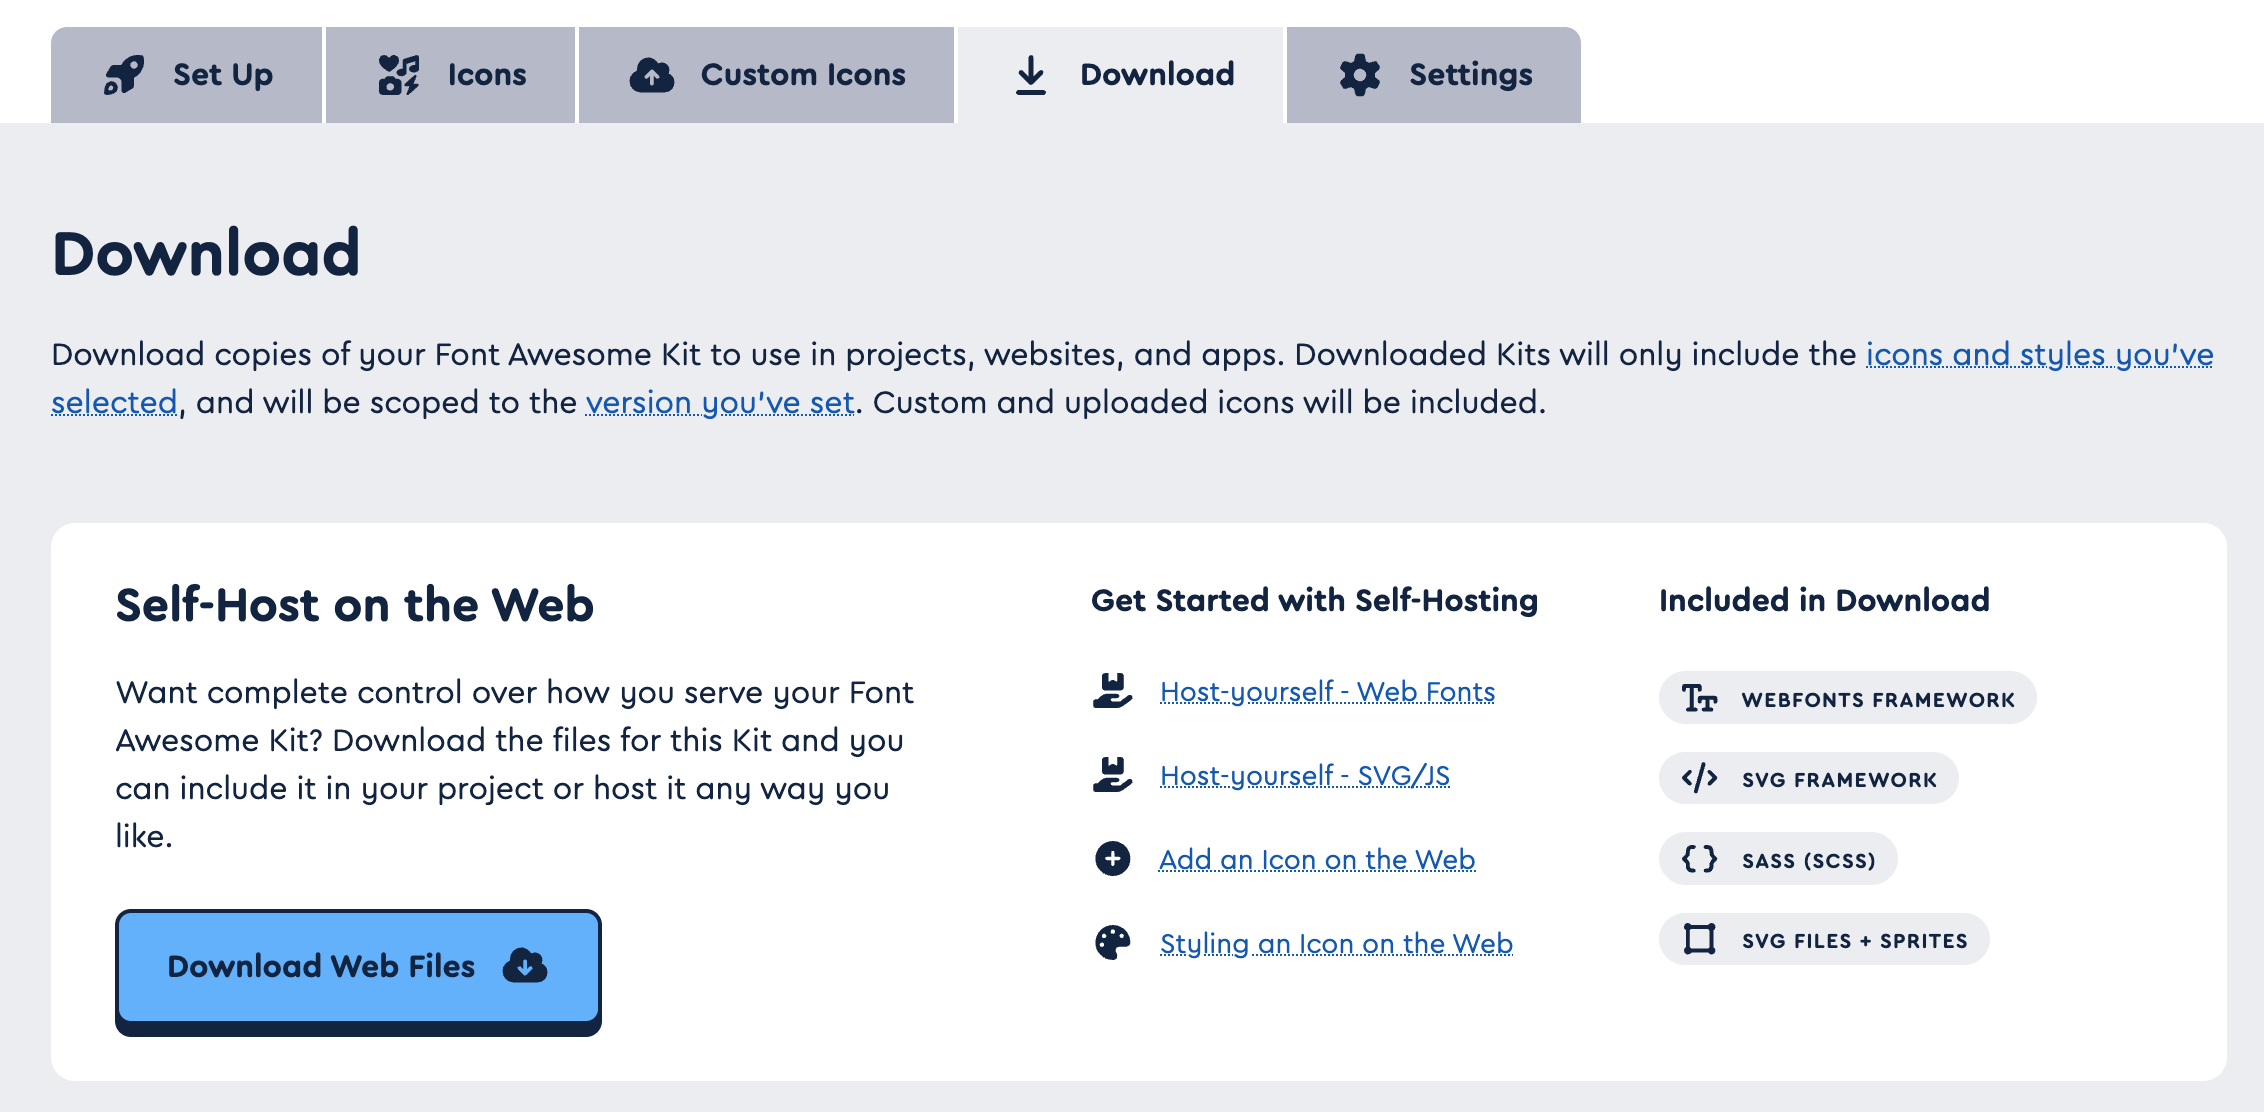
Name your kit and save it
After saving, go to the Download tab and click “Download Web Files”.
-
Move files into your app
- Extract the downloaded archive.
- Copy the webfonts directory into your app’s asset folder.
- Move the CSS files into app/assets/css/.
-
Import the CSS
In app/assets/css/app.css, add:
@import "fontawesome.css";
@import "fontawesome-sharp.css"; /* or whichever file(s) you included */
Now you’re ready to use Font Awesome icons directly in your views:
<i class="fa-sharp fa-thin fa-envelope"></i>
No API keys. No .npmrc hacks. Just awesome icons — fully distributable. Hope this helps anyone looking to bundle Font Awesome in a more portable way!